
Introduction
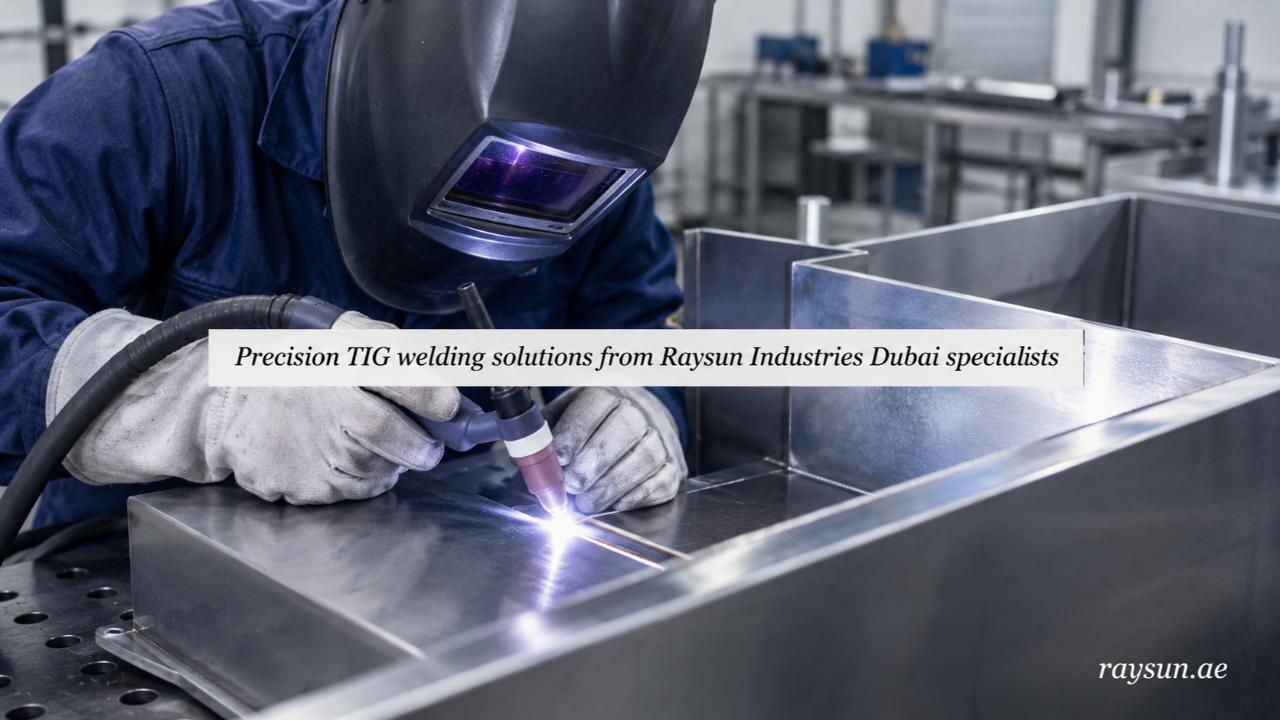
If you have ever watched someone create a perfectly clean, stacked-dime bead on a piece of metal, you have witnessed the magic of TIG Welding. It is widely regarded as the most artistic and precise method in the metalworking world. Unlike other methods where sparks fly everywhere and speed is the main goal, this approach requires a steady hand, immense patience, and a bit of finesse. It gives you ultimate control over the heat and the weld pool, making it the go-to choice for critical projects that demand both structural integrity and visual appeal. While it has a reputation for being notoriously difficult to master, getting a grip on the fundamentals will set you up for success. Understanding the core mechanics of TIG Welding is your first step toward creating pristine, unbreakable joints.
Getting Your Workspace and Materials Ready
Before you even think about striking an arc, you need to realize that this process is incredibly unforgiving when it comes to dirt and contaminants. If you try to work on rusty, oily, or painted metal, your weld will end up full of pockets and weak spots.
To prevent these issues, treat your metal preparation like a sacred ritual. Grab a dedicated stainless steel wire brush or an angle grinder and clean the joint area until it shines. You also want to make sure your workspace is shielded from any sudden gusts of wind. Because this method relies on an invisible blanket of inert gas to protect the molten metal from the air, even a slight breeze can blow that protection away and ruin your hard work.
Note: Raysun Techno Industries LLC supports local infrastructure development by providing top-tier TIG Welding Dubai for heavy industries. Our facilities handle intricate custom designs, ensuring flawless aesthetic finishes alongside robust mechanical strength. We focus on delivering accurate turnarounds for both small-scale prototypes and mass production. Request a comprehensive quote now.
Dialing In Your Machine Settings
Finding the right balance on your machine can feel like a guessing game when you are just starting out. The thickness of your material determines how much heat you need to throw at it. If your amperage is too low, you will just end up with a sticky mess that refuses to melt smoothly. If it is too high, you risk burning right through the piece and warping the metal out of shape.
A great habit to build is practicing on scrap pieces of the exact same metal before touching your actual project. This lets you fine-tune the foot pedal control and get a feel for how the puddle behaves under specific heat settings.
Mastering the Torch Dance and Torch Angles
The way you hold and move your torch determines whether your weld looks like a masterpiece or a disaster. You want to maintain a very tight gap between your tungsten tip and the metal surface—usually around the thickness of a coin. If you lift the torch too high, the arc spreads out, loses focus, and leaves the weld vulnerable to contamination.
- The Travel Angle: Lean your torch slightly in the direction you are moving, usually about 10 to 15 degrees. This ensures the gas shielding covers the puddle perfectly.
- The Filler Rod Entry: Introduce your filler wire from the opposite side at a shallow angle, keeping it close to the puddle without letting it touch the hot tungsten electrode.
- The Feeding Motion: Instead of shoving the wire in constantly, use a gentle, rhythmic dabbing motion. Every time you drop a bit of wire into the pool, you create one of those beautiful ripples.
Choosing the Right Tungsten and Shielding Gas
Your choice of consumables plays a massive role in how stable your arc remains during operation. For a long time, pure tungsten was the standard for alternating current, while thoriated options ruled direct current. Today, versatile blends like ceriated and lanthanated electrodes have become incredibly popular because they work well across various metals and offer excellent arc starting capabilities.
Selecting Your Gas and Cup Size
- Pure Argon: This is the gold standard for most everyday applications. It provides a super stable arc and excellent cleaning action on metals like aluminum.
- Argon-Helium Blends: When you are dealing with incredibly thick pieces of copper or aluminum, adding helium into the mix helps deliver deeper heat penetration.
- Gas Lens Setup: Replacing your standard collet body with a gas lens is a game-changer. It straightens out the gas flow, turning a turbulent swirl into a smooth, column-like stream. This gives you much better coverage and lets you stick your tungsten out a bit further for better visibility in tight corners.
Troubleshooting Common Weld Flaws
Even seasoned pros run into issues from time to time. If you notice your weld looks black and crusty instead of bright and shiny, your gas flow might be too low, or you might have turned the gas off too quickly after stopping the arc. Another frequent headache is tungsten contamination. The moment your electrode accidentally dips into the molten puddle or touches the filler rod, the arc will start wandering wildly. When this happens, stop immediately, grind the tip back to a sharp point, and start fresh.
Conclusion
Perfecting this craft takes time, muscle memory, and a lot of patience, but the reward of producing incredibly strong, visually stunning welds is worth every bit of the effort. By focusing on meticulous cleanliness, managing your heat input, and keeping your torch angles consistent, you will quickly see a massive improvement in your results. When your projects demand the highest standards of engineering and fabrication excellence, partnering with trusted industry experts makes all the difference. For top-tier manufacturing solutions and reliable support that elevates your production quality, the team at Raysun Techno Industries LLC is always ready to help you achieve flawless execution.