
Setting up a printer through a USB connection is one of the easiest ways to get started with printing tasks. If you have recently purchased an HP 123 printer, a proper installation process ensures smooth performance and hassle-free printing. Understanding the right steps can help you avoid common setup errors and save valuable time.
When performing an HP 123 Setup, users often prefer a USB connection because it offers a stable and direct link between the printer and computer. Whether you are using Windows or Mac, the installation process is straightforward when the correct drivers and setup procedures are followed.
This guide explains everything you need to know about connecting your printer through USB, installing drivers, troubleshooting issues, and completing the HP 123 Setup successfully.
Table of Contents
How Can You Prepare for HP 123 Printer Installation?
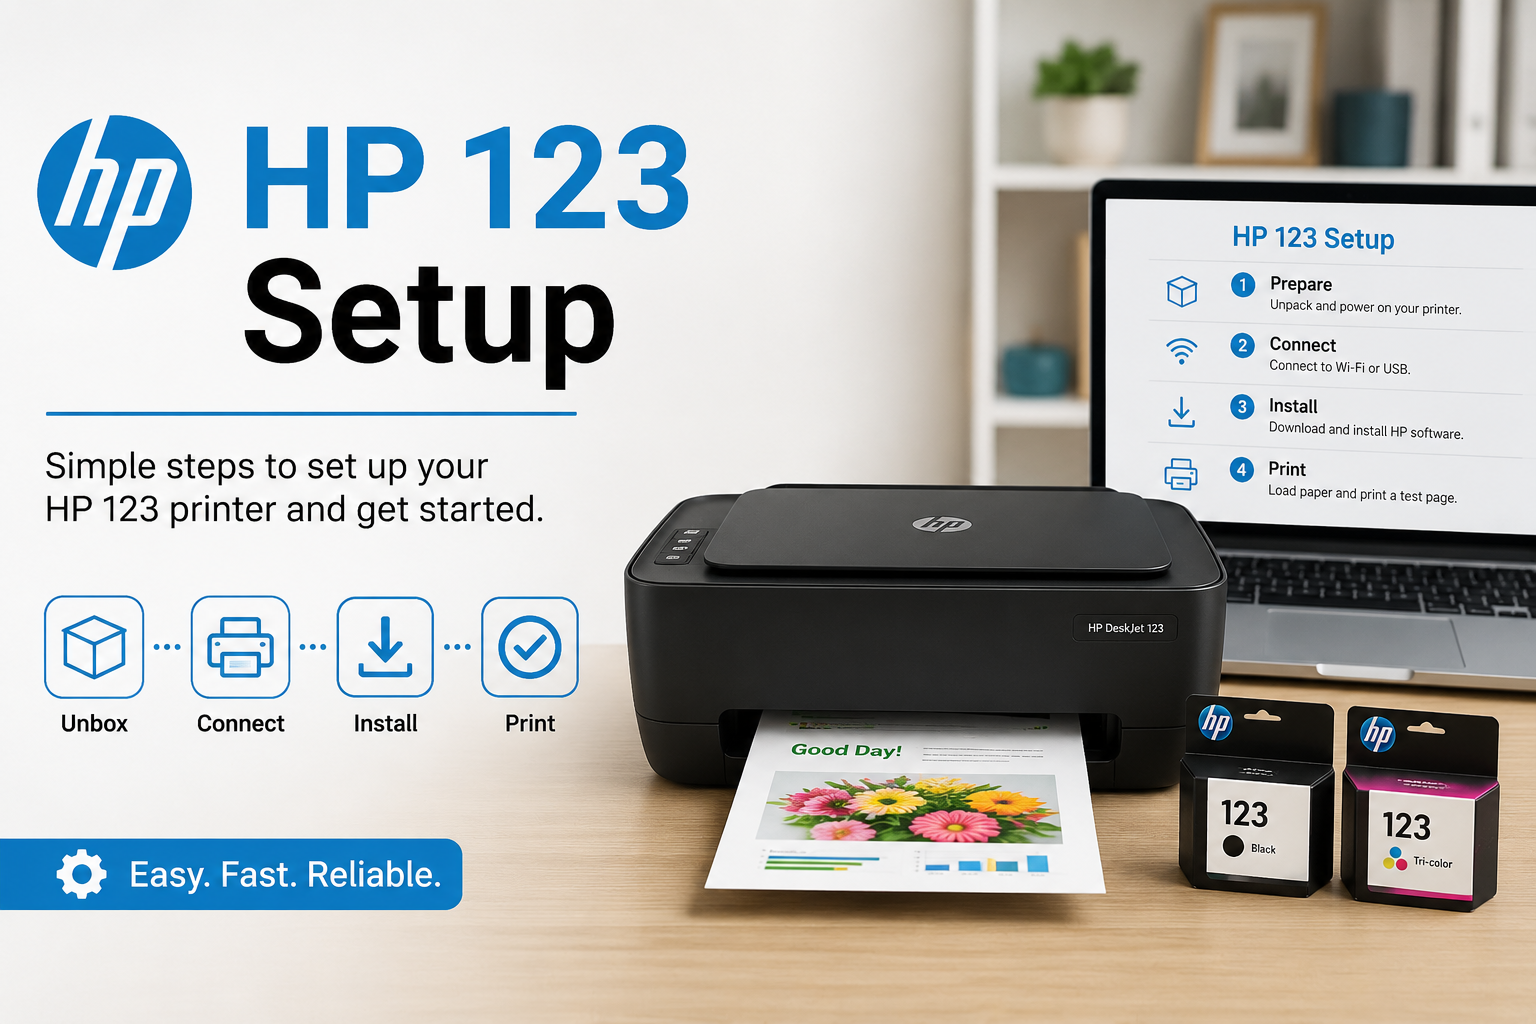
Before connecting the printer, make sure you have all the required items ready. Proper preparation helps ensure a smooth installation experience.
HP 123 Setup becomes easier when you complete the following checklist before starting:
- Unbox the printer and remove all packaging materials.
- Connect the power cable and turn on the printer.
- Install genuine HP ink cartridges.
- Load plain paper into the input tray.
- Keep the USB cable ready but do not connect it immediately.
- Ensure your computer has a stable internet connection for driver downloads.
Completing these basic steps minimizes setup interruptions and prepares your printer for successful installation.
What Are the Steps to Connect HP 123 Printer via USB?
Connecting your printer through USB is a simple process that requires only a few minutes.
HP 123 Setup through USB can be completed by following these steps:
- Turn on the printer and computer.
- Visit the official HP support website.
- Download the latest printer driver compatible with your operating system.
- Run the installation file on your computer.
- Follow the on-screen instructions carefully.
- Connect the USB cable when prompted by the installer.
- Wait for the system to detect the printer automatically.
- Complete the installation process and print a test page.
After successful detection, your printer will be ready for everyday printing tasks.
How Do You Install HP 123 Printer Drivers on Windows?
Windows users can easily install printer software using HP’s recommended setup method.
HP 123 Setup on Windows requires the correct driver package to ensure full printer functionality.
Follow these instructions:
- Download the latest driver from HP Support.
- Open the downloaded setup file.
- Accept the license agreement.
- Select USB connection as the preferred setup option.
- Connect the printer when instructed.
- Allow Windows to complete device recognition.
- Finish the installation wizard.
Once installed, you can access printing preferences, maintenance tools, and printer status features directly from your computer.
How Can Mac Users Complete Printer Installation?
Mac users can also install the printer using a USB cable without any complicated configurations.
HP 123 Setup on macOS becomes simple when the printer software is installed correctly.
Use these steps:
- Download the compatible macOS driver package.
- Launch the installer and follow the setup instructions.
- Connect the USB cable when prompted.
- Open System Settings and navigate to Printers & Scanners.
- Add the detected HP printer.
- Complete the configuration process.
After installation, perform a test print to verify successful communication between the printer and Mac device.
Why Is the Printer Not Detected During USB Setup?
Sometimes the printer may not be recognized during installation. Fortunately, most issues have quick solutions.
HP 123 Setup problems related to USB detection can occur because of hardware or software conflicts.
Try these troubleshooting methods:
- Reconnect the USB cable securely.
- Use a different USB port on the computer.
- Restart both the printer and computer.
- Update printer drivers to the latest version.
- Avoid using damaged or third-party USB cables.
- Disable antivirus software temporarily during installation.
These steps often resolve detection issues and allow the setup process to continue normally.
How Can You Verify That the Printer Is Working Properly?
After installation, it is important to confirm that everything is functioning correctly.
HP 123 Setup verification ensures that the printer is ready for daily use without unexpected errors.
Check the following:
- Print a test page from printer settings.
- Verify print quality and alignment.
- Confirm ink cartridge detection.
- Open printer properties to check device status.
- Scan documents if your model supports scanning.
- Ensure there are no warning messages displayed.
A successful test print indicates that the installation has been completed correctly.
FAQs
1. How long does HP 123 printer USB installation take?
For most users, HP 123 Setup through USB takes around 10 to 15 minutes. The exact time depends on driver download speed and system performance.
2. Do I need internet access for printer installation?
In many cases, HP 123 Setup requires internet access to download the latest drivers. Having an updated driver ensures better compatibility and performance.
3. Can I use any USB cable for printer setup?
During HP 123 Setup, it is recommended to use a compatible and high-quality USB cable. Damaged or unsupported cables may cause connection issues.
4. What should I do if the printer is offline after installation?
If HP 123 Setup is complete but the printer appears offline, restart both devices, reconnect the USB cable, and check printer settings on your computer.
5. Is a test page necessary after installation?
After HP 123 Setup, printing a test page is highly recommended. It confirms successful communication between the printer and computer while verifying print quality.