
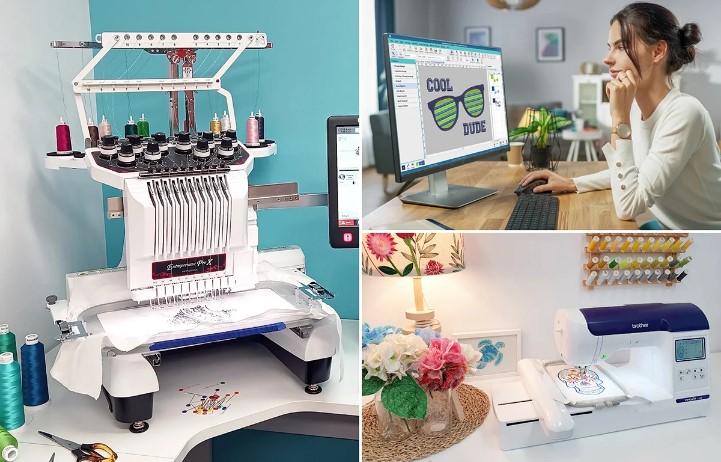
Great embroidery does not start at the machine. It starts with file preparation. Many people think embroidery problems come from the machine or thread. But in many cases, the real issue is the design file itself.
A poorly prepared file can cause broken threads, uneven stitches, gaps, and bad design shapes. On the other hand, a clean and well-made file helps the machine run smoothly and gives sharp results. This is why proper OFM Embroidery File Conversion is very important for machine embroidery work. It helps make sure the design works correctly with embroidery software and machines.
In this guide, you will learn simple ways to improve stitch results through better file preparation. The tips are beginner-friendly, easy to understand, and based on real embroidery experience.
Why File Preparation Matters
File preparation is the base of every embroidery project.
Better Stitch Quality
Clean files help create smooth and even stitches.
Fewer Machine Stops
Good files reduce thread breaks and machine errors.
Cleaner Design Shape
Proper files keep the design balanced and neat.
Faster Production
Machines work better when the file is prepared correctly.
Understanding Embroidery Files
Embroidery machines cannot read normal images directly.
Machines Need Instructions
The file tells the machine:
- Where to stitch
- Which stitch type to use
- What direction to follow
- Which colors to apply
Simple Image Files Are Not Enough
Files like JPG or PNG only show pictures. They do not contain stitch data.
Starting with Good Artwork
Good embroidery always begins with clear artwork.
Use High-Quality Images
Sharp images make file preparation easier.
Avoid Blurry Designs
Poor images create poor stitch paths.
Keep the Design Simple
Simple artwork gives cleaner embroidery results.
Professionals at Digitizing Buddy often recommend starting with simple and clear artwork to avoid stitch issues later.
Cleaning the Design Before Conversion
Before turning artwork into a stitch file, the design must be cleaned.
Remove Extra Details
Tiny details may not stitch well.
Fix Broken Shapes
Clean shapes create smoother stitch flow.
Improve Contrast
Clear lines help define the design better.
Choosing the Right Stitch Types
Different stitch types create different effects.
Satin Stitch
Best for:
- Text
- Borders
- Smooth areas
Fill Stitch
Best for:
- Large spaces
- Solid areas
Running Stitch
Best for:
- Thin lines
- Small details
Why Stitch Choice Matters
Wrong stitch types can ruin the final design.
Setting Proper Stitch Direction
Direction changes how stitches look on fabric.
Why Direction Matters
It affects:
- Shine
- Texture
- Stitch flow
Better Direction Gives Better Depth
Changing angles helps designs look more natural.
Reduces Thread Stress
Good direction helps the machine run smoother.
Managing Stitch Density
Density controls how close stitches are together.
High Density Problems
- Fabric puckering
- Thread breaks
- Stiff embroidery
Low Density Problems
- Gaps in design
- Weak coverage
Balanced Density Is Important
A balanced file creates clean embroidery.
Understanding Underlay Stitches
Underlay is the hidden base layer under the top stitching.
Why Underlay Helps
It supports the design during stitching.
Main Benefits
- Better shape
- Stronger design
- Smoother top stitches
Without Underlay
Designs may shift or lose shape.
Matching the File to Fabric Type
Different fabrics react differently to embroidery.
Thick Fabric
Needs stronger support and proper density.
Thin Fabric
Needs lighter stitching.
Stretch Fabric
Needs extra stabilizer and careful stitch planning.
Digitizing Buddy focuses on matching stitch settings with fabric type because this step improves embroidery quality a lot.
Choosing the Right Stabilizer
Stabilizers help hold fabric in place.
Why Stabilizers Matter
Without support, fabric can move during stitching.
Common Types
- Tear-away
- Cut-away
- Wash-away
Proper Match Is Important
Wrong stabilizers can cause wrinkles and poor stitching.
Testing Files Before Final Production
Testing is one of the smartest steps in embroidery.
Why Testing Helps
It shows how the design behaves on fabric.
What to Check
- Thread breaks
- Design alignment
- Fabric movement
- Stitch balance
Saves Time and Material
Fixing problems early prevents wasted products.
Common File Preparation Mistakes
Many beginners make simple file mistakes.
Too Many Small Details
Tiny shapes may not stitch clearly.
Wrong Stitch Path
Bad stitch order causes jumps and thread trims.
Ignoring Fabric Type
Each fabric needs different settings.
No Test Stitching
Skipping tests often leads to errors.
Real Experience from Embroidery Work
In real embroidery work, stitch problems often come from poor file setup. Many beginners use ready-made files without checking them first.
At first, the design may look fine on screen. But when stitching starts, problems appear:
- Thread breaks
- Uneven stitching
- Fabric puckering
- Poor design shape
Once the file is cleaned and adjusted properly, the machine works much better. The embroidery becomes smoother and more professional.
This is why experienced embroidery teams like Digitizing Buddy focus heavily on proper file preparation before starting production.
How Experts Prepare Files for Better Results
Professional embroidery digitizers follow a careful process.
Step 1: Study the Artwork
They check shapes, details, and complexity.
Step 2: Plan Stitch Flow
They decide stitch order and direction.
Step 3: Set Density and Underlay
Balanced settings improve quality.
Step 4: Test the File
A sample run checks for errors.
Step 5: Final Adjustments
Small changes improve final output.
Why File Compatibility Matters
Different embroidery machines use different file types.
Wrong File Type Causes Errors
Machines may fail to read the design correctly.
Proper Conversion Is Important
Correct file formats improve machine performance.
Common File Types
- DST
- PES
- EXP
- OFM
Using the right format helps avoid stitching problems.
Tips for Beginners
Start with Simple Designs
Simple patterns are easier to manage.
Use Quality Files
Good files create better embroidery.
Learn Machine Settings
Understand how your machine behaves.
Practice Often
Skill improves with time and testing.
Do Not Rush
Good embroidery takes patience.
Why Good Preparation Saves Money
Poor files often lead to wasted materials.
Common Losses
- Damaged fabric
- Broken needles
- Thread waste
- Rework time
Better Files Reduce Errors
Proper preparation lowers production costs.
The Link Between Quality and Customer Trust
If you run an embroidery business, quality matters a lot.
Better Embroidery Builds Trust
Customers notice clean stitching.
Fewer Complaints
Good preparation prevents many problems.
More Repeat Orders
Satisfied clients often return.
Digitizing Buddy understands that strong file preparation is one of the biggest reasons customers receive consistent embroidery quality.
Future of Embroidery File Preparation
Embroidery technology is improving every year.
Smarter Software
Modern tools help create files faster.
Better Machine Accuracy
Machines now stitch more precisely.
Human Skill Still Matters
Software helps, but experience is still important for perfect results.
Final Thoughts
Better stitch results always begin with better file preparation. A clean and well-planned embroidery file helps the machine work smoothly and creates sharp embroidery.
From artwork cleaning to stitch planning, every small step matters. Good preparation reduces mistakes, improves quality, and saves time.
If you want professional embroidery results, focus on the file first. The machine can only stitch as well as the file allows.
With proper planning, testing, and experience, your embroidery projects can look clean, balanced, and professional every time.