
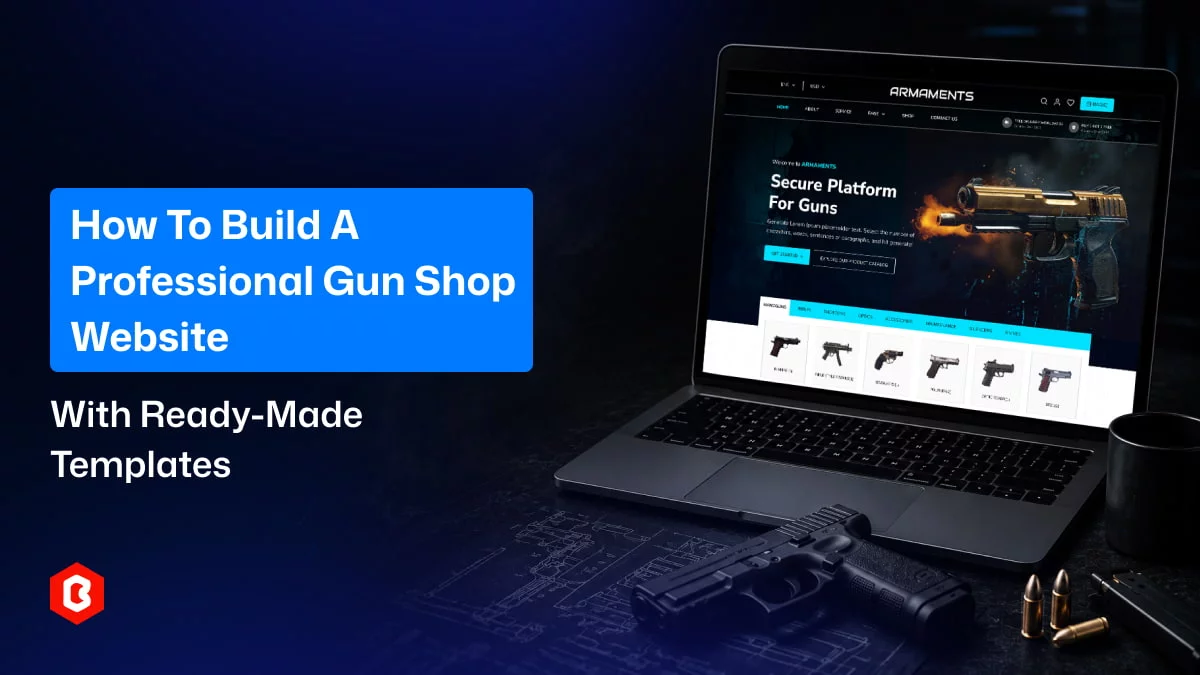
Ready-made templates have become a go-to solution for businesses launching a website quickly and affordably. With online firearms retail on the rise, having a dedicated e-commerce presence has become a practical necessity for shop owners.
This guide walks through the process of building an online gun shop using a firearms website template, from initial research to going live.
Steps to Build a Gun Shop Website Using a Pre-Built Template
Step 1: Research and Choose the Right Template
Start by studying competitor websites in the firearms retail space. A close look at what similar stores offer will help you spot current trends and decide which features and services your site needs.
From there, you have two paths to choose from:
- Purchase a gun shop website template designed specifically for firearms e-commerce.
- Purchase a general-purpose e-commerce template and adapt it.
Going with a purpose-built gun shop template is the smarter route — it cuts down on customization work and gets your site launched faster.
Step 2: Download and Extract the Files
After purchasing your chosen template, download it and unzip the package. Most templates ship with core HTML files, along with supporting CSS, JavaScript, or framework files depending on how the template was built. Many packages also include images and icon sets.
Step 3: Set Up a Local Testing Environment
Don’t skip this step — testing locally before launch is essential. Tools like XAMPP or MAMP make it easy to spin up a local server. Once set up, drop your template files into the server’s root directory (typically “htdocs” or “www”).
Step 4: Customize the Template and Connect the Back End
Rebrand the template to match your business — swap in your logo, colors, and content, and replace any placeholder text with polished, original copy.
Go through each section and adjust it to fit your specific needs, adding or removing elements as necessary. A well-customized site shouldn’t feel like a generic template — clean, well-structured code makes this part far easier. The end goal is a site that feels distinctly yours rather than a copy of someone else’s.
Once the front end is in shape, connect it to your preferred back-end service to power the site’s functionality.
Step 5: Populate Your Content and Product Listings
With the design in place, it’s time to add real content:
- Product Organization: Sort every item into the right category and make sure listings appear on the correct pages.
- Product Details: Write accurate, specific descriptions for each product. Use professionally shot photos, or consider a product image service if you need high-quality visuals. A thorough catalog with feature highlights and related-product suggestions goes a long way toward a better shopping experience.
- Image Optimization: Compress your product photos to keep load times fast — just be careful not to sacrifice visible quality. This ties directly into your site’s overall loading speed.
Step 6: Build a Secure Checkout Flow
The checkout experience can make or break a sale, so it deserves careful attention:
- Cart Functionality: A working shopping cart lets shoppers save items for later and purchase multiple products in one transaction.
- Order Summary & Shipping Info: Clearly displaying the total cost alongside an estimated delivery date makes it easier for customers to commit to a purchase.
- Payment Gateway: A trustworthy, reliable payment processor is non-negotiable — it directly affects both transaction success and customer confidence.
Step 7: Test Everything Thoroughly
Before launch, run through these checks:
- Responsiveness: Confirm the site displays well across devices and screen sizes. A responsive template should handle this automatically.
- Content Accuracy: Double-check that every product page shows the correct images and descriptions.
- Test Transactions: Walk through a full purchase, payment included. This step matters more than any other — a checkout error could cost you real sales, so verify it carefully.
- Order Tracking: Make sure shipment tracking updates are working and visible to customers.
Step 8: Launch the Website
Once testing is complete, you’re ready to go live:
- Pick a dependable hosting provider.
- Upload your files from the local server to your hosting account via FTP.
- Point your domain’s DNS settings to the new hosting environment if you’re using a custom domain.
Conclusion
Launching a gun shop website doesn’t have to be a heavy lift. Starting with a pre-built template can save significant time and money, and clean source code makes branding it your own straightforward. Round it out with a secure cart and dependable payment processing, and you’ll have a shopping experience customers can trust.
Source Link: Theme bitrix